|
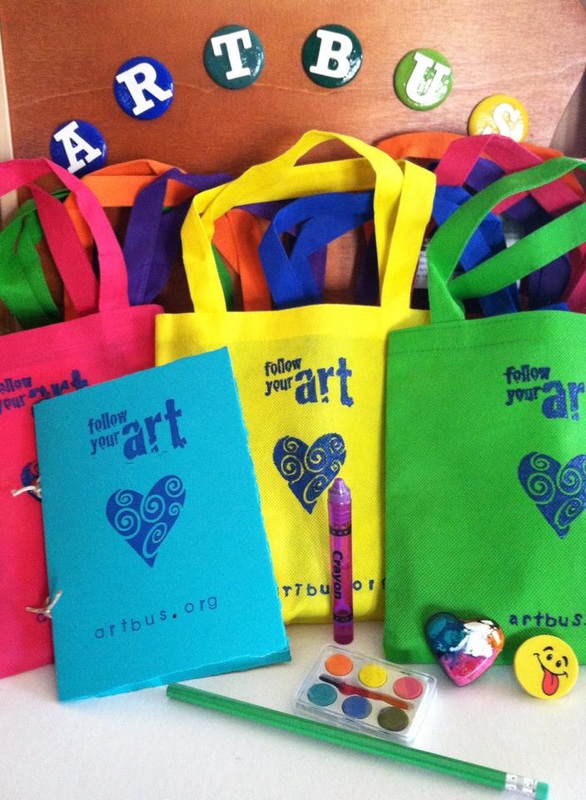
How about these Lovies! I've carried art bags around my entire life. Take a look around your house. How are you going to make your art bag? You can do it! Be creative and have fun.
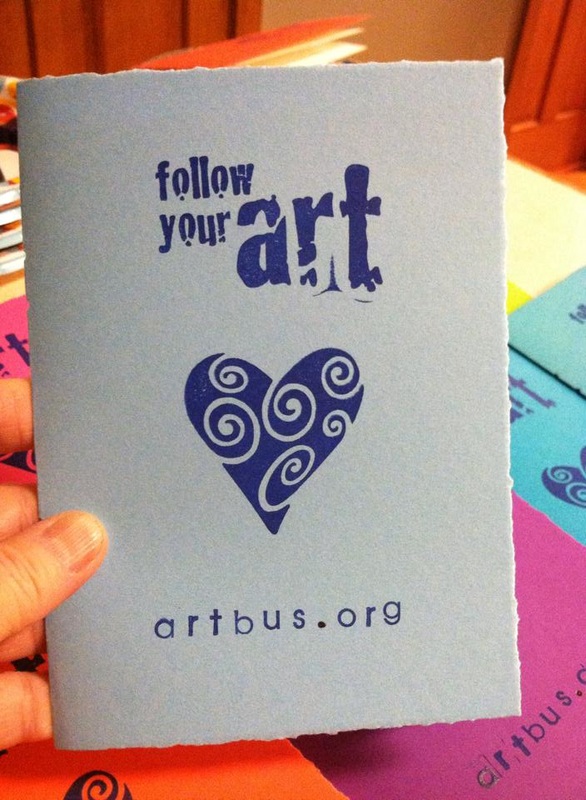
When I began to create the gift bags, fun was at the top of my list.
1 Comment
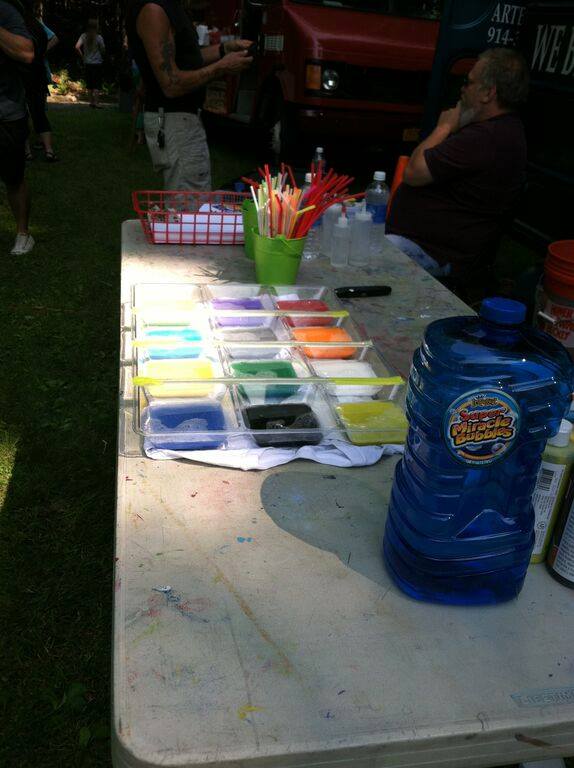
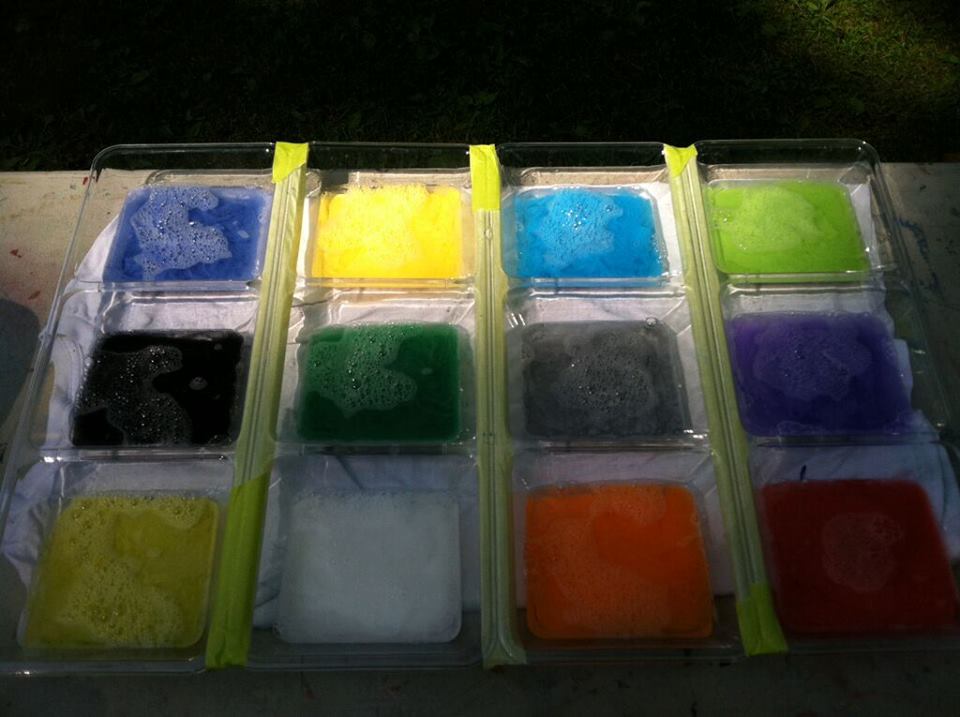
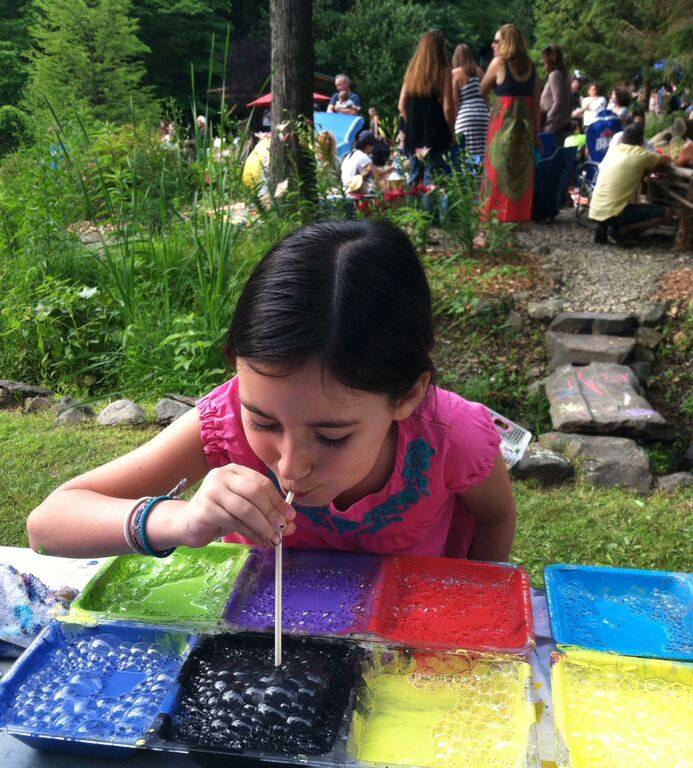
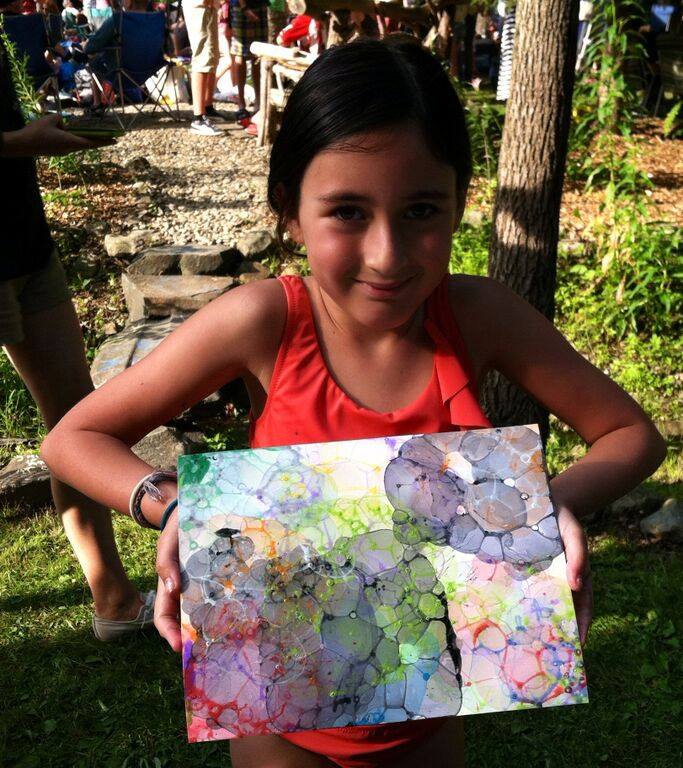
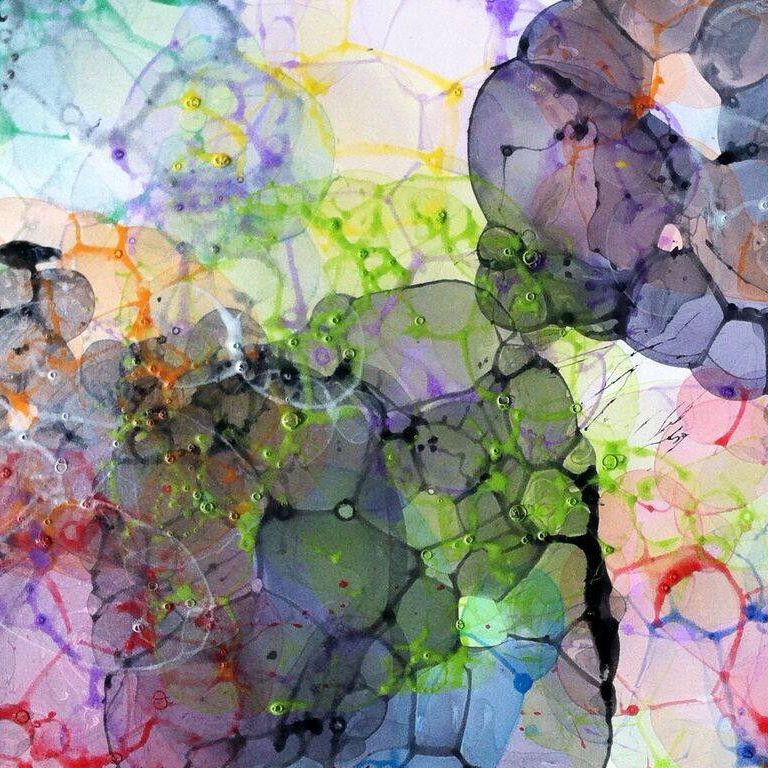
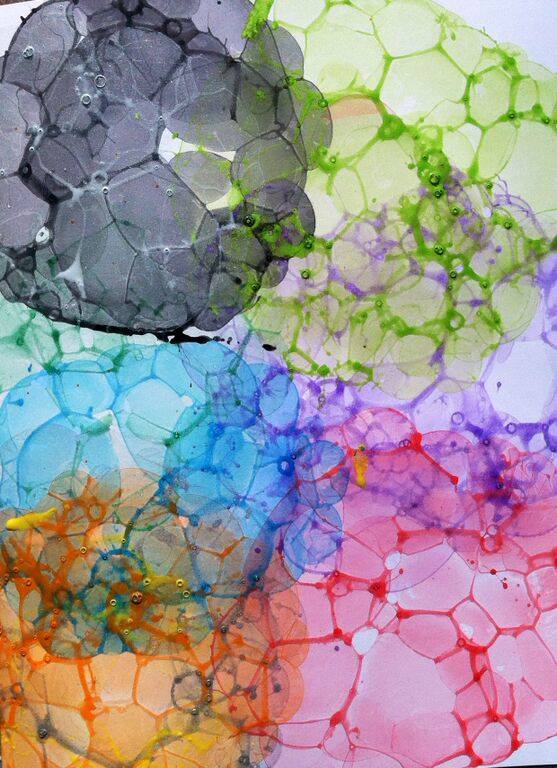
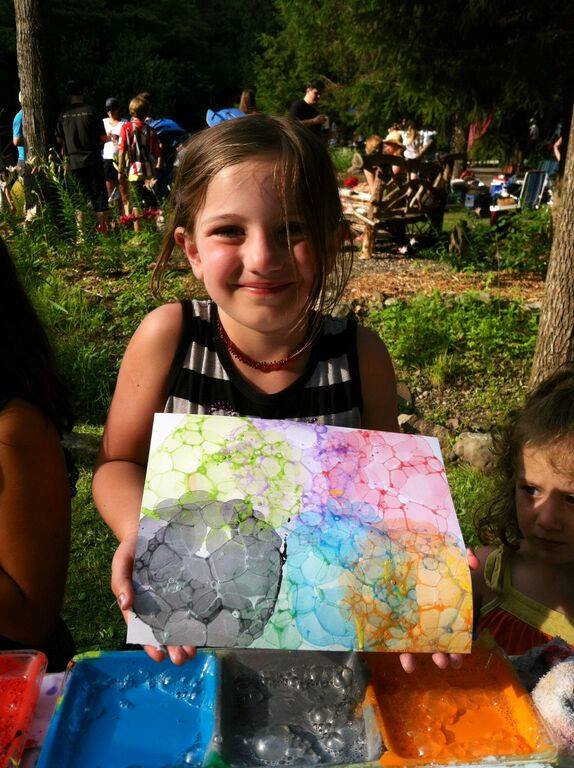
Printing or Painting with Bubbles is;_____ Yes it is, so much fun!
July 4th, 2015 was a day to remember. 1.Safety first- We do not want anyone to suck up any bubble paint through the straws. To prevent this...
2. Mix bubble paint.
I wish I could say I used measurements, but I didn't. A splish, splash and a squirt of this and that.
3. Blow Bubbles and lower heavy card stock paper down onto the bubbles. I used 110 white card stock.
4. Perfect day, Awesome fun, Smiles and laughter, and Beautiful Art!
Have fun, relax and blow Bubbles!
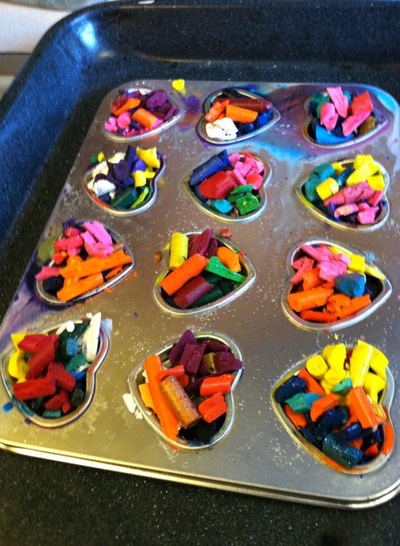
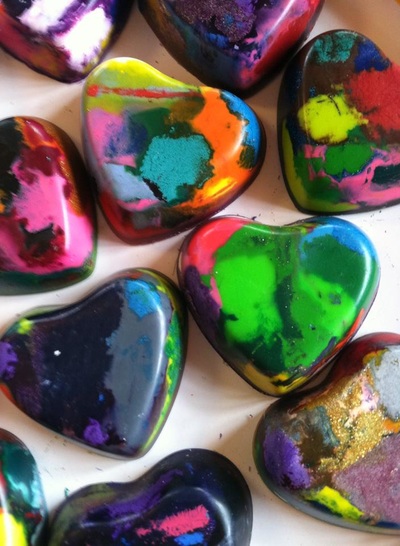
When I was young, I looked forward to a new box of Crayons. It was so exciting! Today I look forward to having the old and broken. Crayon Melts are very simple to do. These were made for the Art Bus's Birthday gift bags.
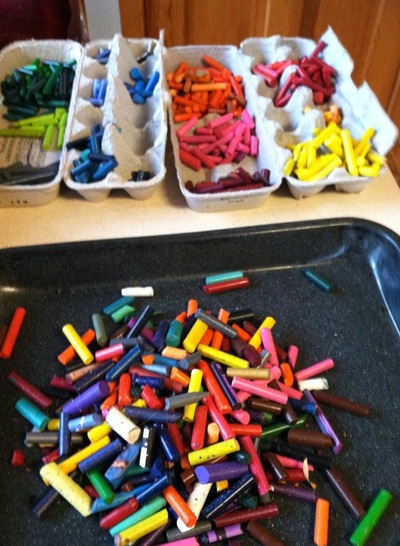
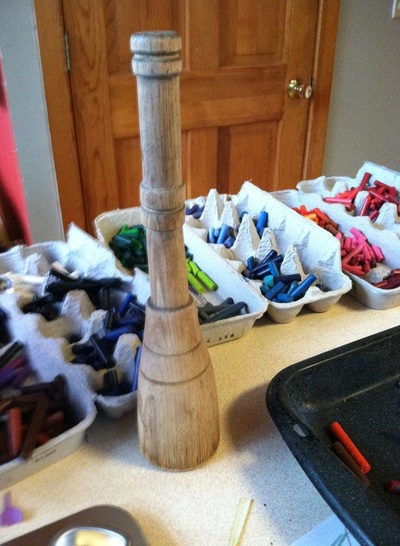
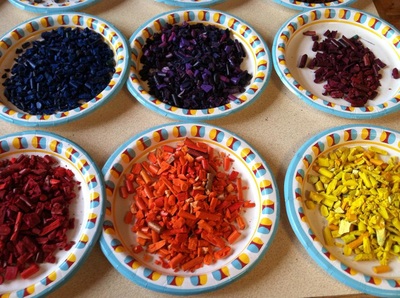
Kids Can: Step 1. Peel the crayons. I suggest soaking in warm water to ease the peeling process. Note: Let crayons completely dry prior to beginning project. Step 2. Separate by the crayons by color Step 3. Place pieces in a zip lock bag and break up with a wooden mallet. Step 4. Take your mini heart muffin tin and oil the hearts using a paper towel. Step 5. Place pieces of crayons by color in the tin hearts. I over stuffed the hearts to melt at the correct thickness. Grown Ups: Step 6. Place Tin on a metal baking sheet. Note: This is a protective measure against spills. Step 7. Set gas oven to 275 degrees. I'm not sure of the temp. for an electric oven. Place in oven. Step 8. Set timer for 5mins. take a peek. reset timer for 5 more mins. Step 9. Remove from oven. Let cool for 30 mins. Step 10. When you can handle the tin, place in the freezer for 2 mins. The Hearts will fall right out. |
Brenda CrewsHello, CategoriesArchives |


 RSS Feed
